 |
|
|
|
|

|
|
|
Motocross
Madness 2
 Armadillo
Track Editing Tutorial
3D Max 3.1 Object & Export
by Maui_cool & Naz88
|
| |
[This tutorial is for people who have some knowledge of 3d Max 3.1, photo editing programs
such as Photoshop & Paint Shop Pro and the MCM 2 Track Editor "Armadillo".]
Page 1 [of 4]
How to make textures for an object
using Photoshop or Paint Shop Pro.
We will be making a simple haybale.
Textures must be square, and power
of 2 size. That means: 32x32, 64x64, 128x128, or 256x256. Always use the
smallest map possible.
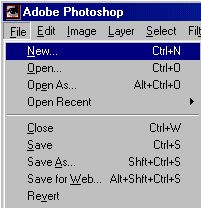
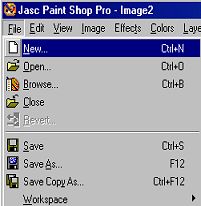
1. Open Photoshop or Paint Shop Pro.
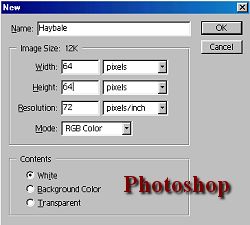
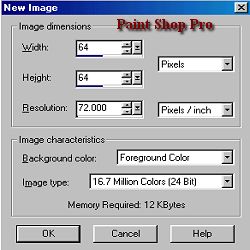
Select "File" + "New" from the menu, and make your image 64x64 (this is a
small model we will only need a small map for it).
2.
Ok, I am not going to show you exactly how to make a hay texture, as Photoshop could
be a huge tutorial in itself on creating textures, so just paint it whatever way
you wish, I am only going to show you how to save it properly to work with
armadillo.
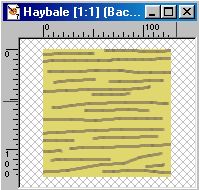
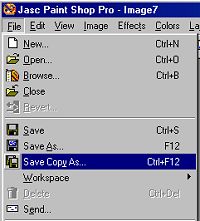
3. So now you have a texture that looks somewhat like hay? lol, all you have to do
is to save a copy of this image by going to the
File Menu....Save a copy...
And from the drop down menu on that window, choose.....TARGA (.TGA)
format.
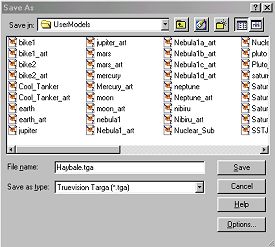
4. Save your image with the file name the same as what you plan to save the object file
as, for example we are making a hay bail. so we will name this texture....
haybail.tga
Save a copy to your "TrackEditor\UserModels\" directory.
Save another copy to your 3D Max "Maps" directory.
Click "Save" and another option window pops up... from that choose "24bit".
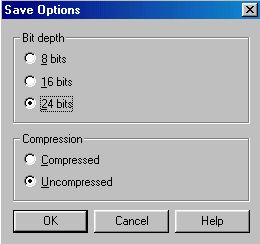
And thats all, you're ready to map your texture onto your object in 3DsMAX.
Proceed to:
Making a simple object in 3D Max.
tutorials index
Copyright © 2001 Maui_cool All rights reserved.
|
| |
|
| |
|
 |
 |
 |
 |


