
|
|
|||||||||
| |
|
|
|
|||||
 |
 |
|||||||
| Motocross
Madness 2 Armadillo track editing tutorial Fog and SkyCube basics by mike_mccue |
||||||||
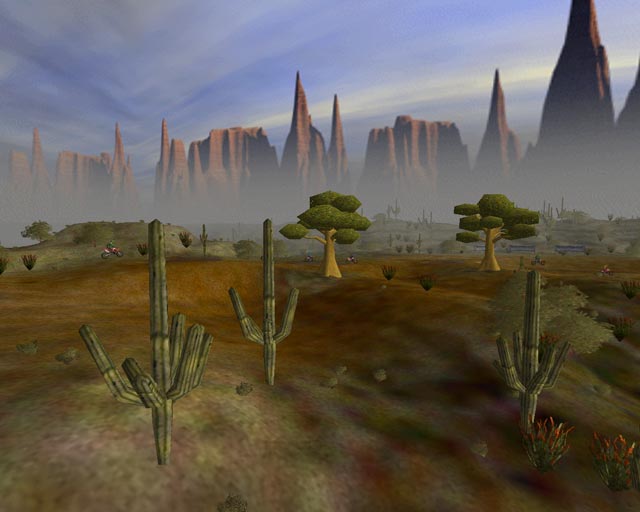
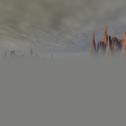
| This
tutorial explains how the Fog setting available via APM, Armadillo, or the
.scn file can be used to create a smooth horizon line and a aerial perspective
effect with your custom skycubes: Armadillo automatically loads a suitable Fog Setting when you use a stock sky cube. Here's how to get the same effect when working with a custom sky. Here is an example of the aerial perspective effect as seen in the TD Sketch Out Series Race 02: Bryce Canyon track. The enviroment details fall off softly into the fog and the clipping envelope is hidden by an illusion of depth. |
||||||||
|
|
||||||||
The idea is to coordinate the DirectX Fog settings for the game so it matches the color of the horizon line on the Sky Cube. |
||||||||
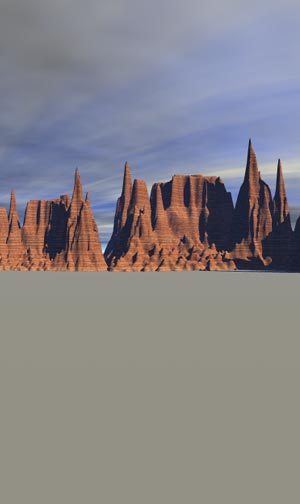
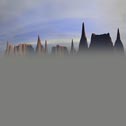
I usually start by making 2016x504 pixel painting for use with Skywalker. Here is the original render of the Bryce Canyon Sky image shown at 1/4 scale.
|
||||||||
|
This is a 300x504 pixel portion of the original render which was computed
in Bryce 4. |
||||||||
|
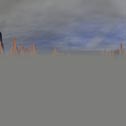
This
is the same portion shown after I have added a feathered layer of 124,125,122
RGB grey color in Photoshop. The fog color for this Sky Cube is 124,125,122. Hint:
When I got done with the MakeCube process for the sky painting shown here
I named the skycube: |
||||||||
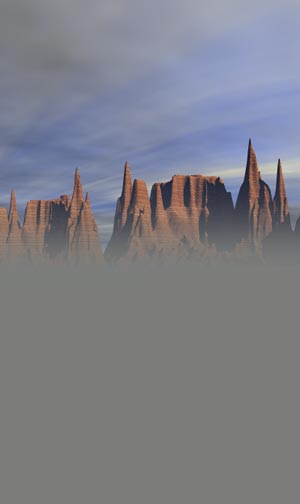
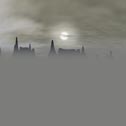
Here
is a 1/4 scale view of the 2016x504 Sky Cube image with a aerial perspective
effect added. |
||||||||
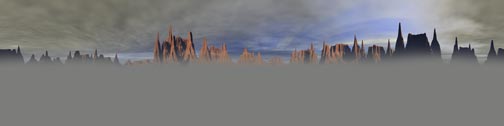
| The Panels below were generated by processing the image with Skywalker. Notice that the top panel (05) has been retouched too hide visual seams while a sun disk has been added to panel 02 to simulate a sun in the 90 by 45 degree position.
|
||||||||
I
hope you may have found this tutorial helpful in some way, |
||||||||
|
||||||||

|
|||||||||
